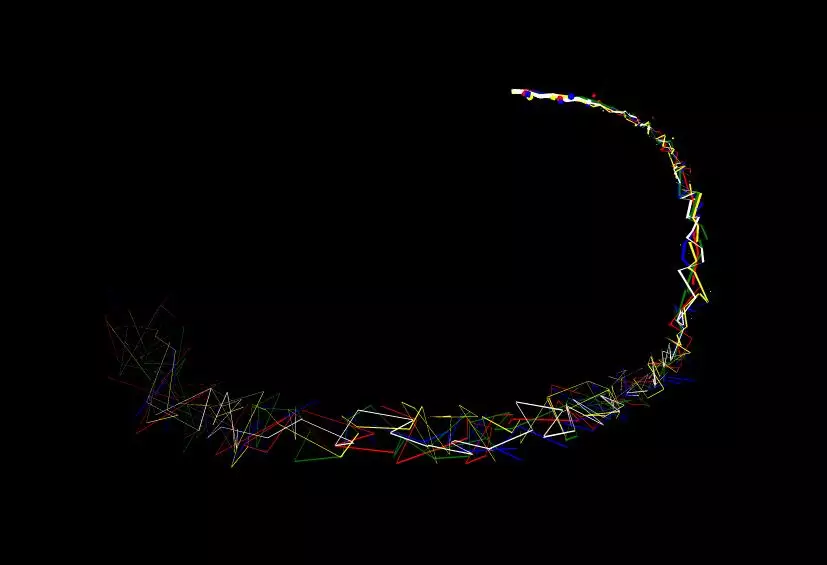
单调的鼠标增加一点乐趣让小球跟着鼠标走
鼠标小点追拖影追踪
新建文件
[BlogRoot]\source\js\cursor.js,在里面写上如下代码:
var CURSOR ;Math .lerp = (a, b, n ) => (1 - n) * a + n * b;const getStyle = (el, attr ) => { try { return window .getComputedStyle ? window .getComputedStyle (el)[attr] : el.currentStyle [attr]; } catch (e) {} return "" ; }; class Cursor { constructor ( this .pos = {curr : null , prev : null }; this .pt = []; this .create (); this .init (); this .render (); } move (left, top ) { this .cursor .style ["left" ] = `${left} px` ; this .cursor .style ["top" ] = `${top} px` ; } create ( if (!this .cursor ) { this .cursor = document .createElement ("div" ); this .cursor .id = "cursor" ; this .cursor .classList .add ("hidden" ); document .body .append (this .cursor ); } var el = document .getElementsByTagName ('*' ); for (let i = 0 ; i < el.length ; i++) if (getStyle (el[i], "cursor" ) == "pointer" ) this .pt .push (el[i].outerHTML ); document .body .appendChild ((this .scr = document .createElement ("style" ))); this .scr .innerHTML = `* {cursor: url("data:image/svg+xml,<svg xmlns='http://www.w3.org/2000/svg' viewBox='0 0 8 8' width='8px' height='8px'><circle cx='4' cy='4' r='4' opacity='.5'/></svg>") 4 4, auto}` ; } refresh ( this .scr .remove (); this .cursor .classList .remove ("hover" ); this .cursor .classList .remove ("active" ); this .pos = {curr : null , prev : null }; this .pt = []; this .create (); this .init (); this .render (); } init ( document .onmouseover = e =>this .pt .includes (e.target .outerHTML ) && this .cursor .classList .add ("hover" ); document .onmouseout = e =>this .pt .includes (e.target .outerHTML ) && this .cursor .classList .remove ("hover" ); document .onmousemove = e =>this .pos .curr == null ) && this .move (e.clientX - 8 , e.clientY - 8 ); this .pos .curr = {x : e.clientX - 8 , y : e.clientY - 8 }; this .cursor .classList .remove ("hidden" );}; document .onmouseenter = e =>this .cursor .classList .remove ("hidden" ); document .onmouseleave = e =>this .cursor .classList .add ("hidden" ); document .onmousedown = e =>this .cursor .classList .add ("active" ); document .onmouseup = e =>this .cursor .classList .remove ("active" ); } render ( if (this .pos .prev ) { this .pos .prev .x = Math .lerp (this .pos .prev .x , this .pos .curr .x , 0.15 ); this .pos .prev .y = Math .lerp (this .pos .prev .y , this .pos .curr .y , 0.15 ); this .move (this .pos .prev .x , this .pos .prev .y ); } else { this .pos .prev = this .pos .curr ; } requestAnimationFrame (() => this .render ()); } } (() => { CURSOR = new Cursor (); })();
其中比较重要的参数就是鼠标的尺寸和颜色,已经在上图中标出,目前发现颜色只支持
RGB 写法和固有名称写法(例如 red 这种),其他参数也可以自行摸索:
* {cursor : url ("data:image/svg+xml,<svg xmlns='http://www.w3.org/2000/svg' viewBox='0 0 8 8' width='8px' height='8px'><circle cx='4' cy='4' r='4' opacity='1.0' fill='rgb(57, 197, 187)'/></svg>" ) 4 4 , auto}`
在 [BlogRoot]\source\css\custom.css 添加如下代码:
#cursor { position : fixed; width : 16px ; height : 16px ; background : var (--theme-color); border-radius : 8px ; opacity : 0.25 ; z-index : 10086 ; pointer-events : none; transition : 0.2s ease-in-out; transition-property : background, opacity, transform; } #cursor .hidden { opacity : 0 ; } #cursor .hover { opacity : 0.1 ; transform : scale (2.5 ); -webkit-transform : scale (2.5 ); -moz-transform : scale (2.5 ); -ms-transform : scale (2.5 ); -o-transform : scale (2.5 ); } #cursor .active { opacity : 0.5 ; transform : scale (0.5 ); -webkit-transform : scale (0.5 ); -moz-transform : scale (0.5 ); -ms-transform : scale (0.5 ); -o-transform : scale (0.5 ); }
这里比较重要的参数就是鼠标跟随的圆形颜色,可以根据自己的喜好进行更改:
#cursor { background : rgb (57 , 197 , 187 ); }
在主题配置文件_config.butterfly.yml 文件的
inject 配置项引入刚刚创建的 css 文件和
js 文件:
inject:
  head:
+    - <link rel="stylesheet" href="/css/custom.css">
  bottom:
+    - <script defer src="/js/cursor.js"></script>
